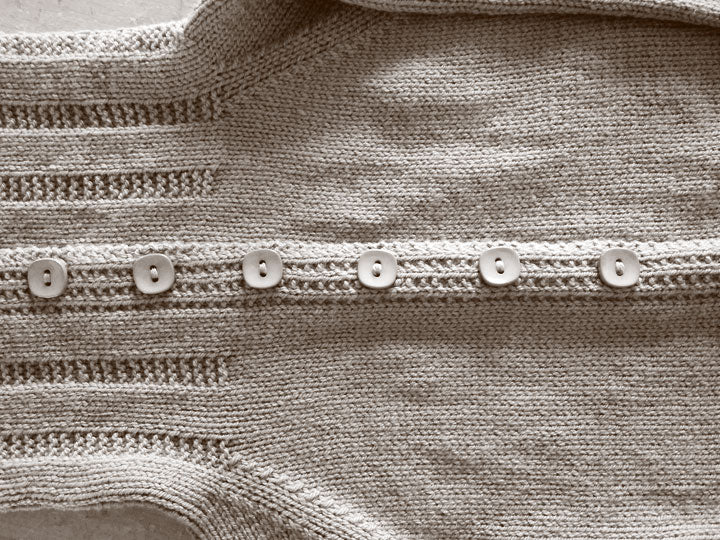
1. First Systems Check: you've got the perfect buttons ready, sure. But before you painstakingly sew them on, make sure they fit properly through the buttonholes!
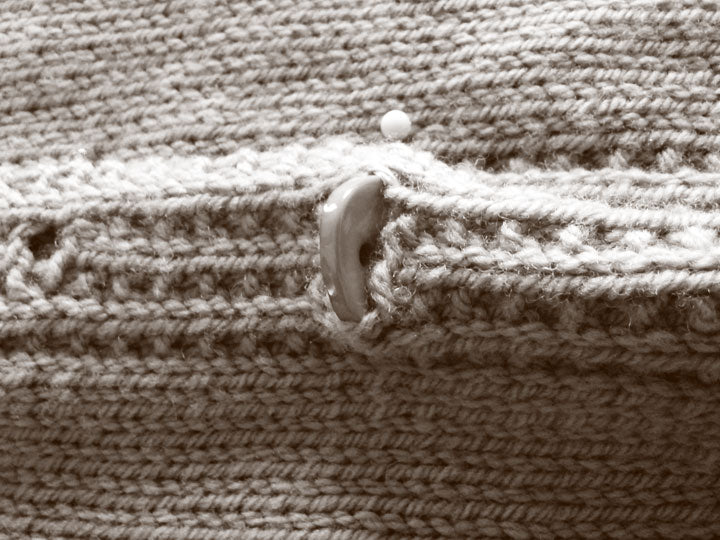
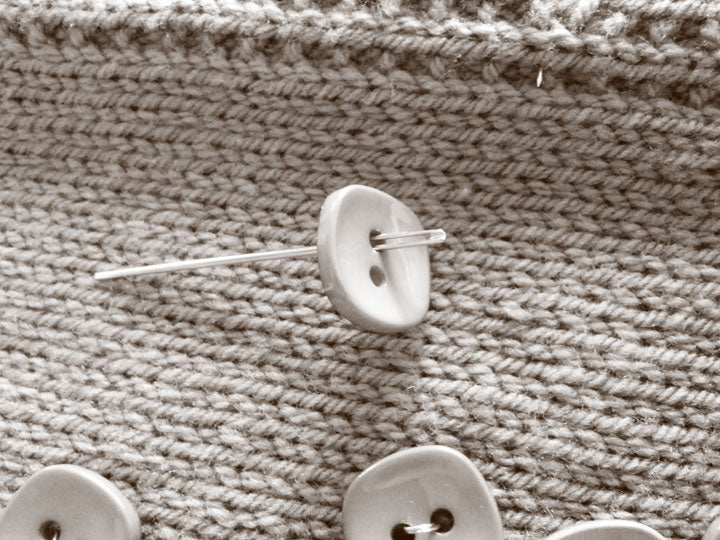
2. Second Systems Check: make sure your yarn needle fits easily through the holes on your button. If you have to force it, you may break the button (or the needle).
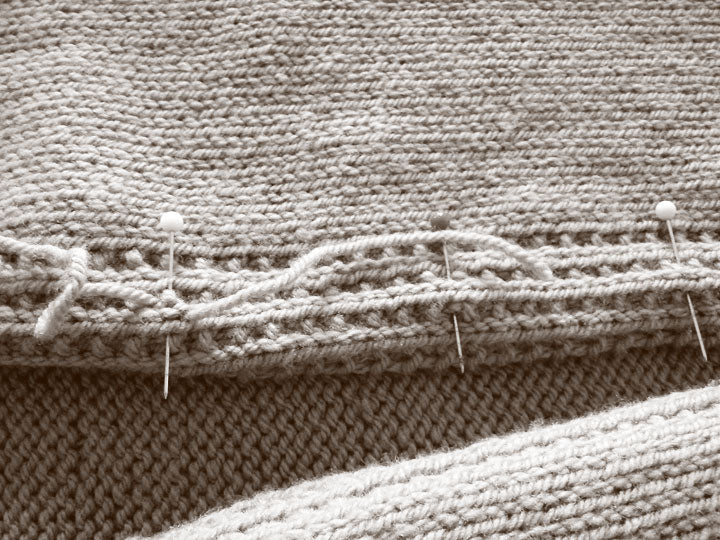
3. Mark the Spot: Lay the garment out flat, line up edges, and mark where your buttons will go. Most books recommend using safety pins, but I like straight pins. I can move them around easily, and I look through the buttonhole to make sure I can see the pin.

4. Thread your needle with a length of matching yarn, put it in from the right side of the work and back up through the wrong side, leaving a longish tail. Don't split the yarn on your work: put the needle in between or beside stitches. Take a substantial enough bite that the weight of the button will be distributed. If you only sew your button to one strand of yarn, it's going to pull that strand of yarn out of shape.
5. Thread the needle up through the bottom of the button, down through the top and back through the fabric. Do this about 3-4 times.
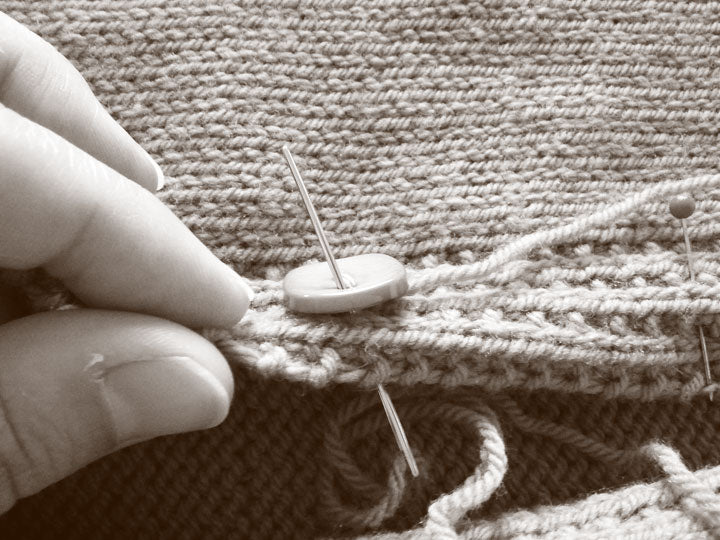
6. Third Systems Check: Before you tie off and cut the yarn, take a look. Is the button in the right spot? Is it firmly sewn on?
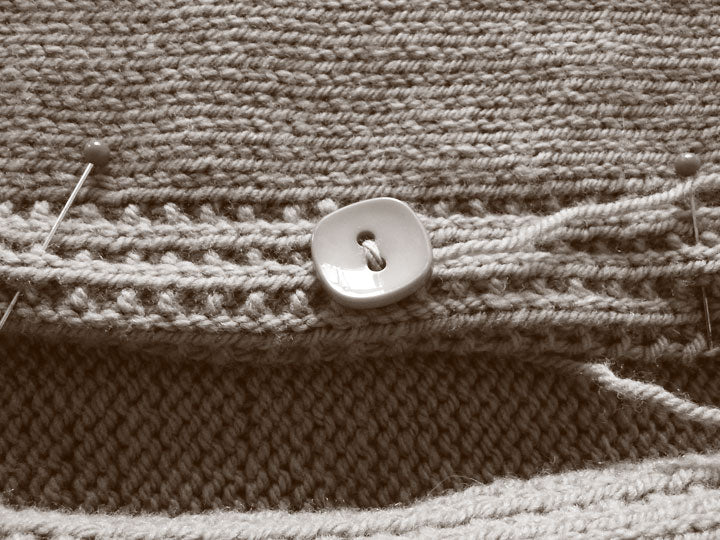
7. Thread the needle up through the bottom of the knitting and out next to the yarn tail.

8. Tie off the ends. I haven't seen this in books, so this may be a knitting faux-pas. But instead of cutting my yarn ends and weaving them in laboriously, I tie them. The yarn ends are nicely hidden by the button, and if I need to remove the buttons later, I can just snip them free. I tie the ends using a square knot: Left over right...
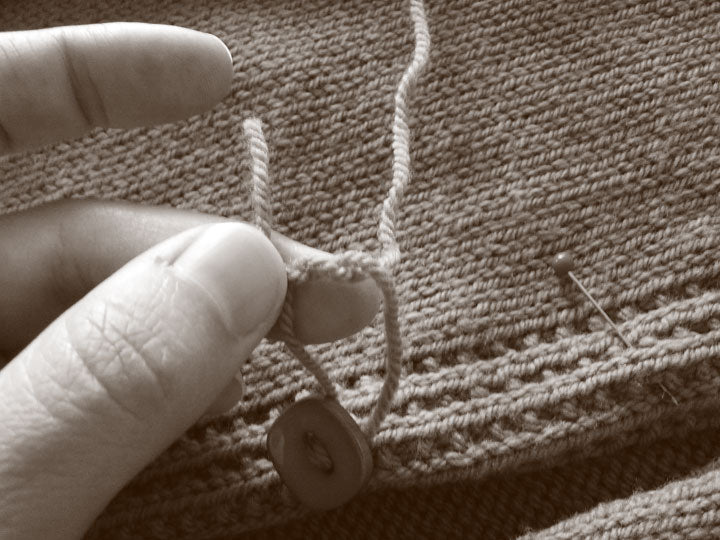
9. And right over left. This method works nicely ONLY on animal fiber with a little bit of grip. Slippery silks, smooth superwash, hard cottons, those are better done the conventional way where you weave in the ends.
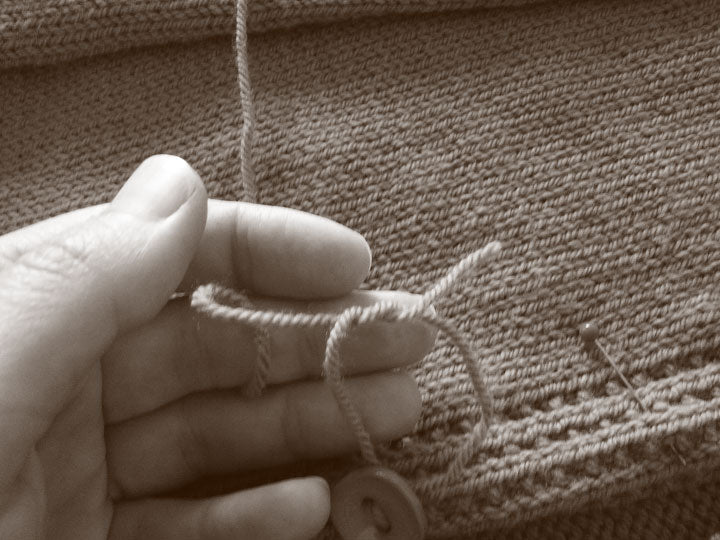
10. Pull your knot snugly, and snip the ends. Leave short tails, about the length of the button's diameter. They will fuzz out and blend in to the fabric, and be hidden by the button.
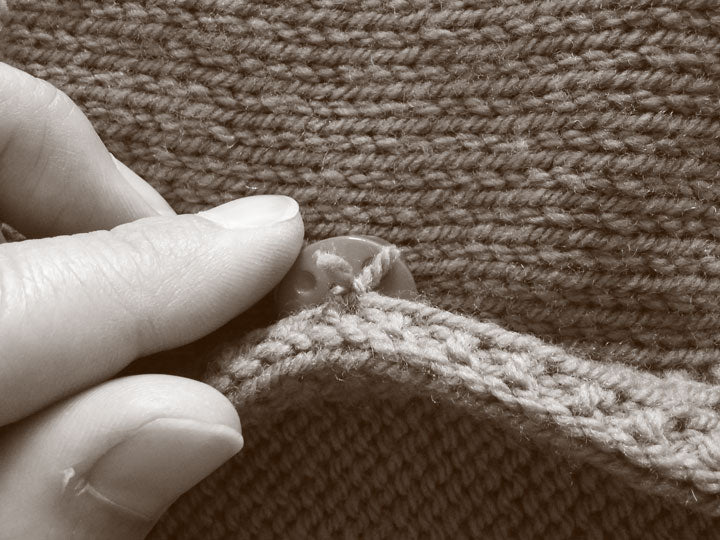
11. And voila. As tidy on the front of the band as they are on the back.

