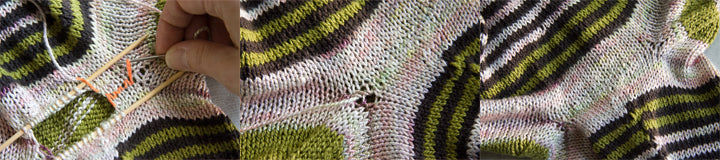
At the end of part 2, we looked at the steps for Kitchener stitch. After you've worked about an inch of stitches, you need to stop and adjust the tension of your graft.
Starting at the right, and using the tip of the yarn needle, pull each grafted stitch so that it matches the stitches of the knitting above and below it.
Working right to left, keep adjusting each stitch, backtracking if necessary, until your graft blends in
Continue grafting the remaining stitches. Repeat the adjustment process. You should have a nice grafted join that blends in.
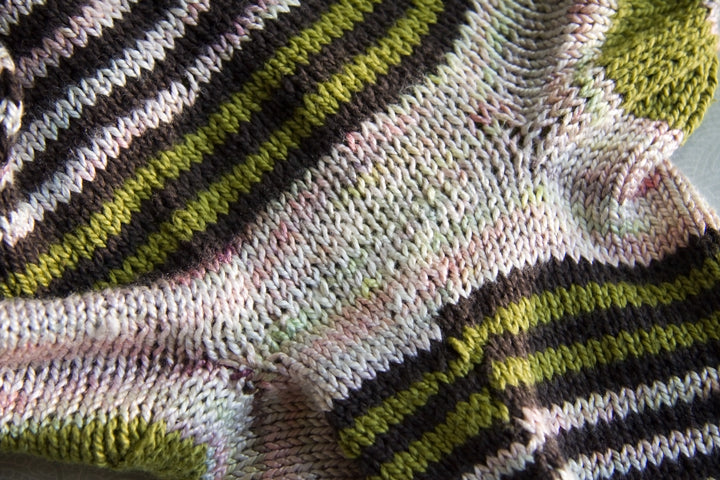
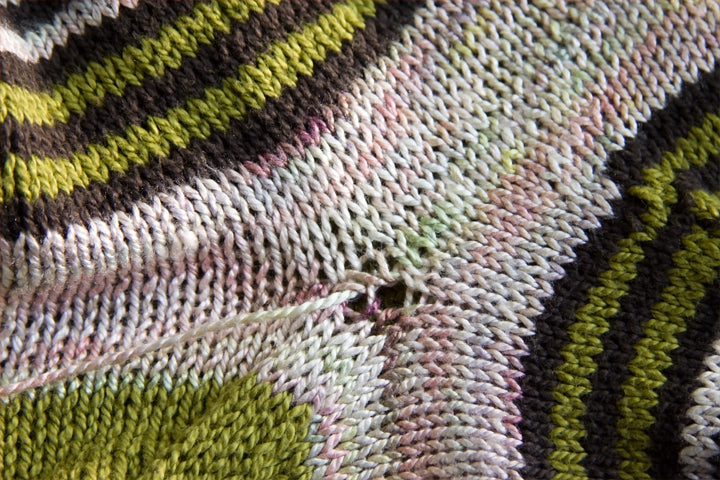
But what about that gap? Gaps are tricky to avoid completely, although some master knitters have got it down cold. No matter what I do (not that I try very hard) I always have a small gap.

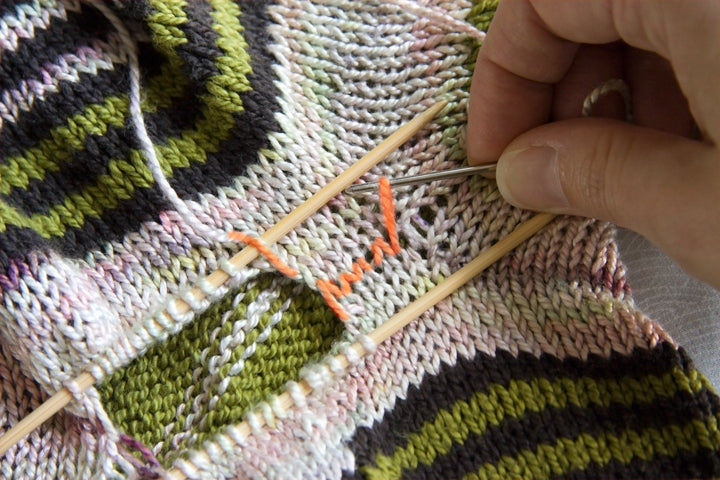
With the yarn needle, thread through the stitches that surround the gap
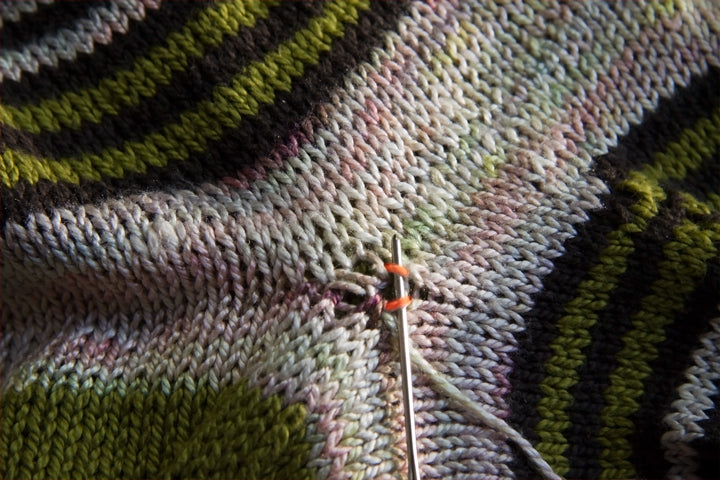
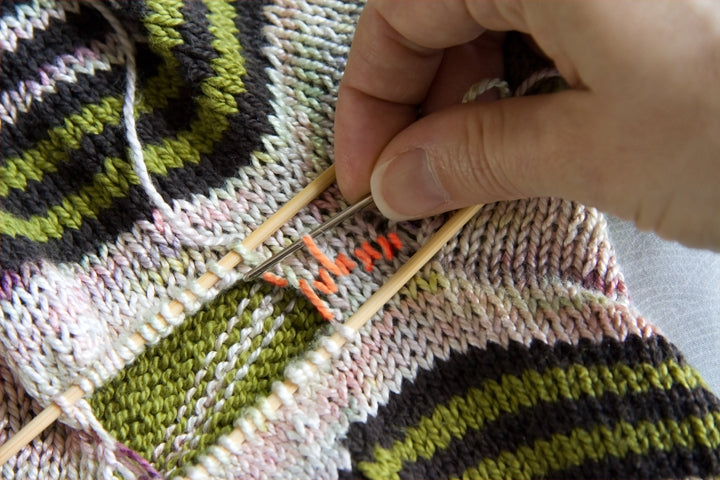
When you're done, pull the gap closed.
You now have a seamless join with no bulk.